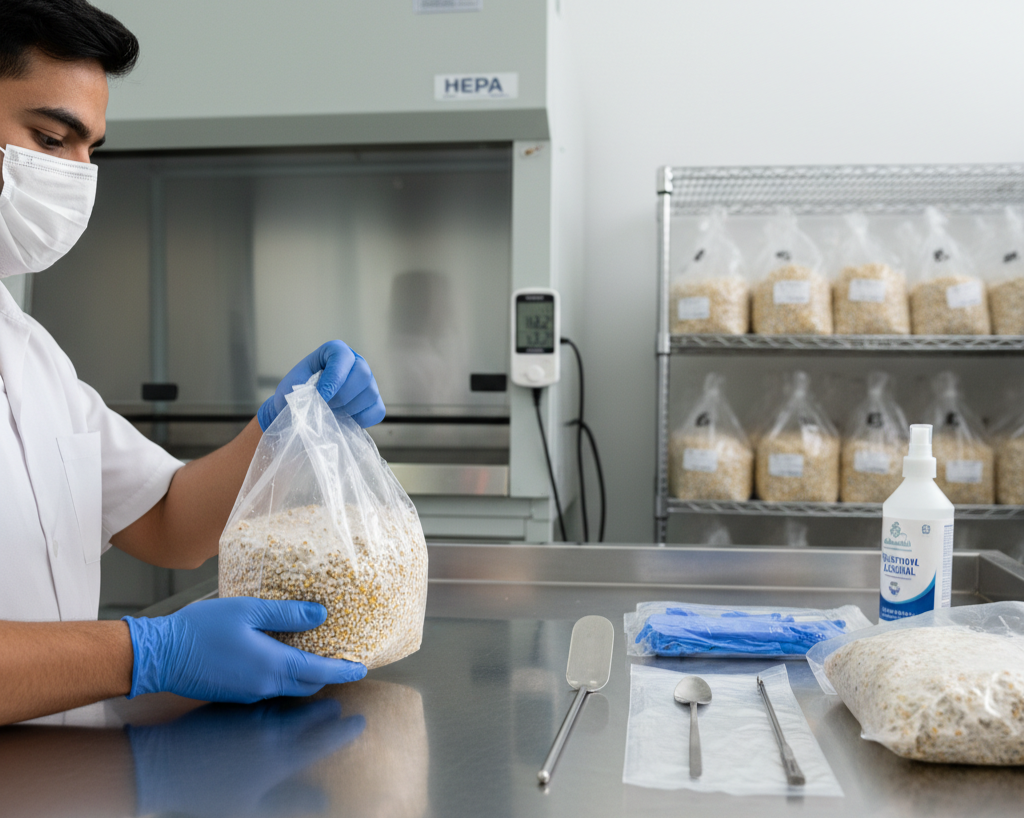
Knowing how to handle mushroom spawn correctly can make the difference between a thriving mushroom crop and a wasted batch.
At Manas Agrotech, we help cultivators master the art of spawn handling, storage, and usage — because healthy spawn means higher yield, faster colonization, and fewer losses.
If you’re new to spawn handling or want to refine your process, this guide walks you through everything step-by-step.
🧊 1️⃣ How to Store Mushroom Spawn the Right Way
Storage is the first and most crucial step in learning how to handle mushroom spawn.
Proper storage keeps the mycelium active, alive, and ready to colonize when introduced to the substrate.
Best storage practices:
- Keep in a cool, dry place (ideal range 15–20°C).
- Avoid direct sunlight and sudden temperature shifts.
- Never freeze mushroom spawn.
- Store in a clean, ventilated space, away from strong smells or chemicals.
💡 Pro Tip: Consistent temperature and low humidity extend your spawn’s life and prevent contamination.
⏳ 2️⃣ Shelf Life of Mushroom Spawn
Spawn is a living culture, not a dry product. Its shelf life depends heavily on how you store it.
- Use within 2–3 weeks of dispatch for best results.
- Always check for bright white, uniform mycelium before using.
- Avoid using spawn that has turned gray, yellow, or overly dry.
⚠️ Using expired spawn can lead to slow growth, patchy colonization, or failed flushes.
For a deeper dive, check this guide on mushroom spawn shelf life and viability (external resource).
✅ 3️⃣ Do’s When Handling Mushroom Spawn
When learning how to handle mushroom spawn, cleanliness is your best defense against contamination.
Follow these do’s:
- Wash hands or wear clean gloves.
- Use only sterilized substrate and clean tools.
- Inoculate in a dust-free environment — avoid fans and open windows.
- Seal bags or trays properly after mixing.
These small habits ensure stronger and faster mycelial growth.
❌ 4️⃣ Don’ts of Handling Mushroom Spawn
Avoiding common mistakes can save entire batches from contamination or poor yield.
Never:
- Open spawn bags until you’re ready to use them.
- Touch the mycelium directly with bare hands.
- Keep spawn near chemicals, fumes, or wet surfaces.
Remember: once contamination starts, it spreads quickly.
⚠️ 5️⃣ How to Identify Contamination in Mushroom Spawn
Understanding contamination is essential when you learn how to handle mushroom spawn safely.
Watch for:
- Green, black, pink, or slimy patches
- Sour or unpleasant odor
- Wet, soggy, or sticky texture
🚫 Never reuse contaminated spawn. It will infect healthy substrate too.
For visual reference, you can compare healthy vs. contaminated spawn images on The Shroomery Contamination Guide (trusted external link).
🎨 6️⃣ Normal Pigmentation vs Contamination
Not every color change means danger — some pigmentation is completely normal.
Harmless pigmentation includes:
- Light yellowing from heat or pressure
- Rust-colored millet spots (if dry and not spreading)
How to tell the difference:
- Pigmentation is surface-level and static.
- Contamination spreads quickly and emits odor.
When unsure, contact Manas Agrotech for expert advice — it’s better to ask than risk an infection.
📦 7️⃣ How to Use Mushroom Spawn Effectively
The final step in how to handle mushroom spawn is using it correctly.
Ideal ratio:
- Use 1–1.5 kg of spawn per 10 kg substrate (varies by mushroom species).
- Mix evenly in clean conditions.
- Seal and incubate at recommended temperature and humidity.
This ensures even colonization and maximum productivity.
🌱 Final Thoughts
Learning how to handle mushroom spawn is one of the smartest skills for any mushroom cultivator.
Proper handling ensures:
- Healthy mycelium growth
- Lower contamination risk
- Better yields
- Longer spawn shelf life
At Manas Agrotech, we combine science and experience to help you produce the highest-quality spawn and achieve reliable results.
👉 Learn more: Visit our Course Page
📞 Need help? Contact our team — we’re here to help you grow better, every day.